목표
Riverpod을 사용하여 WeatherApp을 만들고 Riverpod의 적용원리를 확인한다.
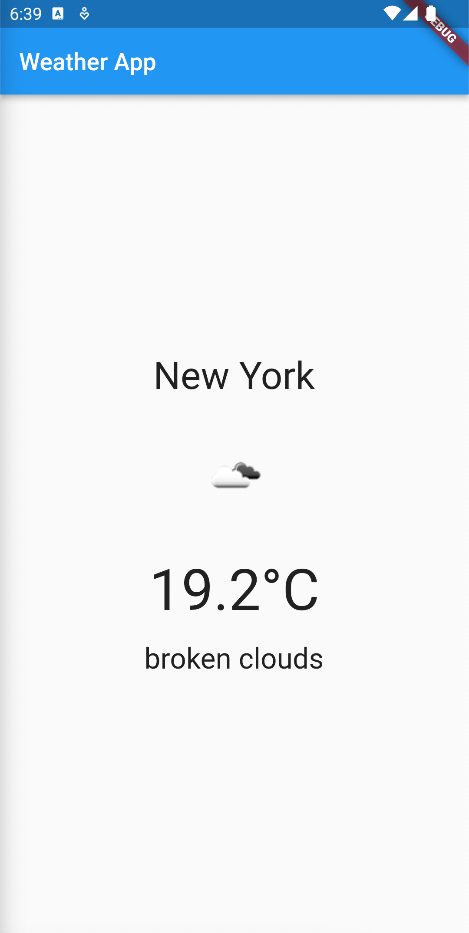
Riverpod을 사용하여 WeatherApp을 만들어볼 것이다. 여기서 불러오려고 하는 정보의 경우 도시, 온도, description, icon이며 만들려고 하는 앱의 화면은 다음과 같다.
Weather App
1. Dependency
riverpod: ^2.1.1
  http: ^0.13.3
2. Weather class의 생성 (weather.dart)
여기서는 weather api로 부터 어떤 Data를 받을지 선언해주는 곳이라고 생각을 하면 된다. 도시, 온도, 짧은 설명 그리고 아이콘등을 받아올 예정이다.
class Weather {
  final String city;
  final double temperature;
  final String description;
  final String icon;

  Weather({
    required this.city,
    required this.temperature,
    required this.description,
    required this.icon,
  });
}
3. Weather API를 불러 올 수 있는 class 생성 (weather_api.dart)
weather API측에서 불러올 주소와 개인 API에 대한 정보를 선언하며, getWeather 메소드의 경우 city 파라미터를 받아와 Weather 객체를 리턴하며, http 패키지를 사용하여 get으로 OpenWeatherMap API에서 정보를 요청하는 것이다.
정보를 얻어오는데 성공할시 (200), JSON으로 파싱을 하여 Weather 객체 데이터를 생성한다.
import 'package:flutter_application_weather_riverpod/weather.dart';
import 'package:http/http.dart' as http;
import 'dart:convert';

class WeatherApi {
  final String _baseUrl = "https://api.openweathermap.org/data/2.5/weather";

  /// replace with your API
  final String _apiKey = "개인의 API를 입력해주세요.";

  Future<Weather> getWeather(String city) async {
    final response = await http
        .get(Uri.parse('$_baseUrl?q=$city&appid=$_apiKey&units=metric'));

    if (response.statusCode == 200) {
      final data = json.decode(response.body);
      return Weather(
        city: data['name'],
        temperature: data['main']['temp'],
        description: data['weather'][0]['description'],
        icon: data['weather'][0]['icon'],
      );
    } else {
      throw Exception('Failed to load weather data');
    }
  }
}
4. UI 화면 구성 (main.dart)
여기서 UI 화면을 구성하여본다. _weather는 현재 날씨 정보를 저장하는 변수이다. _MyAppState 클래스의 인스턴스 변수로 선언을 하여 initState()에서 _getWeather에 의해 초기화가 된다. _getWeather 메소드는 WeatherApi 클래스를 사용하여 New York의 날씨 정보를 가져온다음, setState()를 호출해 _weather 변수 값을 업데이트 한다. 이 값이 변경이 되었을때 build 메소드에서 해당 변수를 사용하여 화면을 렌더링 한다.
import 'package:flutter/material.dart';
import 'package:flutter_application_weather_riverpod/weather.dart';
import 'package:flutter_application_weather_riverpod/weather_api.dart';
import 'package:flutter_application_weather_riverpod/weather.dart';
import 'package:flutter_application_weather_riverpod/weather_api.dart';

void main() {
  runApp(MyApp());
}

class MyApp extends StatefulWidget {
  @override
  _MyAppState createState() => _MyAppState();
}

class _MyAppState extends State<MyApp> {
  late Weather _weather;

  @override
  void initState() {
    super.initState();
    _getWeather();
  }

  Future<void> _getWeather() async {
    final api = WeatherApi();
    final weather = await api.getWeather('New York');
    setState(() {
      _weather = weather;
    });
  }

  @override
  Widget build(BuildContext context) {
    return MaterialApp(
      title: 'Weather App',
      home: Scaffold(
        appBar: AppBar(
          title: Text('Weather App'),
        ),
        body: Center(
          child: _weather == null
              ? CircularProgressIndicator()
              : Column(
                  mainAxisAlignment: MainAxisAlignment.center,
                  children: [
                    Text(
                      _weather.city,
                      style: TextStyle(fontSize: 32),
                    ),
                    SizedBox(height: 16),
                    Image.network(
                      'https://openweathermap.org/img/w/${_weather.icon}.png',
                      width: 100,
                      height: 100,
                    ),
                    SizedBox(height: 16),
                    Text(
                      '${_weather.temperature.toStringAsFixed(1)}°C',
                      style: TextStyle(fontSize: 48),
                    ),
                    SizedBox(height: 16),
                    Text(
                      _weather.description,
                      style: TextStyle(fontSize: 24),
                    ),
                  ],
                ),
        ),
      ),
    );
  }
}
간단하게 날씨 구성 화면을 만들어 보았다. 이 외에도 다양한 방법으로 riverpod을 사용이 가능하니 꼭 확인해보길 바란다.
'Flutter' 카테고리의 다른 글
| 5-5. Riverpod (E-commerce App) (0) | 2023.04.18 |
|---|---|
| 5-4. Riverpod (QuizApp) (0) | 2023.04.18 |
| 5-2. Riverpod으로 Todo 앱 만들기 (0) | 2023.04.14 |
| [Practice] Todolist 만들기2 (0) | 2023.04.13 |
| 11-2. BLoC과 freezed (0) | 2023.04.11 |