11-2. BLoC과 freezed
목표
Flutter를 사용하다가보다면은 자주 사용하게 되는 freezed와 BLoC의 조합을 구현해보고, 어떤 방식으로 응용할 수 있는지 생각해본다.
챕터 10에서 말했던 것 처럼 freezed라고 하는 것은 immutable 클래스를 쉽게 생성할 수 있도록 도와주면서 불변성을 유지하여야 하는 클래스를 작성하는데 필요한 많은 코드의 자동생성을 도와준다고 했다. 그리고 BLoC의 경우에는 미리 정의되어 있는 상태를 통지하는 역할이 큰 상태 관리 방식이라고 말하였다.
그럼 불변성의 데이터를 만들어주고 이 데이터를 관리할 수 있는 상태관리 라이브러리를 활용할 수 있는 방법에는 무엇이 있을까? 이를 통해서 간단하게 만들 수 있는 어플리케이션이 있다면 다음과 같다 (기본적인 단계).
- Todolist. freezed를 사용하여 Todo immutable 모델을 만들고 BLoC 상태 관리 방식을 사용하여 ToDoListBloc을 생성한다음 UI에 반영을 하도록 한다.
- Calendar. freezed를 사용하여 Event 모델을 만들고 BLoC 패턴을 사용하여 CalendarBloc을 만들어 새로운 이벤트의 추가 및 삭제를 관리하여 새롭게 업데이트된 이벤트를 캘린더 UI에 업데이트 한다.
- Weather App. freezed를 사용하여서 Weather 모델을 불변 모델로 만들고, BLoC 패턴을 사용하여 WeatherBloc을 만든다음 상태 변경이 발생할 시에는 UI를 업데이트 한다.
즉 공통적으로 보이는 것은
- freezed를 사용하여서 불변성을 보장한다.
- BLoC 패턴을 사용하여 상태 관리와 UI의 업데이트를 진행한다.
로 정리를 할 수 있다.
Count application을 freezed와 bloc을 사용하여 만들어보자.
"pubspec.yaml"
dependencies:

  bloc: ^7.0.0
  freezed_annotation: ^1.0.10
  json_annotation: ^4.3.0
  build_runner: ^2.1.7
  flutter_bloc:
  freezed:
"counter_bloc.dart"
import 'package:bloc/bloc.dart';
import 'package:freezed_annotation/freezed_annotation.dart';
import 'counter_event.dart';
import 'counter_state.dart';

class CounterBloc extends Bloc<CounterEvent, CounterState> {
  CounterBloc() : super(const CounterState(count: 0));

  @override
  Stream<CounterState> mapEventToState(CounterEvent event) async* {
    yield event.when(
      increment: () => state.copyWith(count: state.count + 1),
      decrement: () => state.copyWith(count: state.count - 1),
    );
  }
}
BLoC 패턴의 구현. CounterBloc 클래스는 CounterEvent와 CounterState를 제네릭 타입으로 가지고 있으며, mapEventToState 메서드를 CounterEvent를 받아들여 CounterState를 반환하는데 사용을 한다. 여기서 when 메서드는 각각의 이벤트에 따라 새로운 상태를 반환하는데 사용한다. 여기서는 CounterEvent.decrement 이벤트가 들어올시 count값을 1감소 시키거나 증가 시킨 CounterState를 반환합니다.
"counter_event.dart"
import 'package:freezed_annotation/freezed_annotation.dart';

part 'counter_event.freezed.dart';

@freezed
class CounterEvent with _$CounterEvent {
  const factory CounterEvent.increment() = Increment;
  const factory CounterEvent.decrement() = Decrement;
}
freezed를 사용한 CounterEvent 클래스의 선언. freezed_annotation 패키지는 불변성을 유지하는 클래스를 자동으로 생성하는데 유용한 코드입니다. CounterEvent 클래스의 with 키워드 뒤에 _$CounterEvent를 작성할시, freezed_annotation 패키지에서 자동으로 생성된 _$CounterEvent 클래스를 자동으로 상속합니다. factory를 통해 increment 혹은 decrement 이벤트를 가진 CounterEvent 클래스의 인스턴스를 생성합니다.
"counter_state.dart"
import 'package:freezed_annotation/freezed_annotation.dart';

part 'counter_state.freezed.dart';

@freezed
class CounterState with _$CounterState {
  const factory CounterState({
    required int count,
  }) = _CounterState;

  factory CounterState.initial() => const CounterState(count: 0);
}
CounterState 클래스의 선언과 클래스의 초기값 및 팩토리 메소드를 생성하는 코드. freezed_annotation을 사용했다는 것은 동일하나, 구성은 조금 다르다. Event의 발생 조건을 구성하는 것과는 다르게 이번 State에서는 const factory CounterState({required int count,}) = _CounterState를 작성하여 count 값을 가진 CounterState 클래스의 인스턴스를 생성을 한다. 그리고 count:0 이라는 초기 상태 값인 CounterState 객체를 생성한다.
중요: pub run build_runner build를 terminal에 입력하여 freezed 자동생성 파일을 필히 만들도록 한다.
"main.dart"
import 'package:flutter/material.dart';
import 'package:flutter_bloc/flutter_bloc.dart';
import 'counter_bloc.dart';
import 'counter_event.dart';
import 'counter_state.dart';
void main() {
runApp(const MyApp());
}
class MyApp extends StatelessWidget {
const MyApp({Key? key}) : super(key: key);
@override
Widget build(BuildContext context) {
return MaterialApp(
title: 'Flutter Demo',
theme: ThemeData(
primarySwatch: Colors.blue,
),
home: BlocProvider(
create: (_) => CounterBloc(),
child: const MyHomePage(),
),
);
}
}
class MyHomePage extends StatelessWidget {
const MyHomePage({Key? key}) : super(key: key);
@override
Widget build(BuildContext context) {
return Scaffold(
appBar: AppBar(
title: const Text('Counter App'),
),
body: Center(
child: BlocBuilder<CounterBloc, CounterState>(
builder: (context, state) {
return Text(
'${state.count}',
style: Theme.of(context).textTheme.headline1,
);
},
),
),
floatingActionButton: Column(
mainAxisAlignment: MainAxisAlignment.end,
crossAxisAlignment: CrossAxisAlignment.end,
children: [
FloatingActionButton(
onPressed: () {
context.read<CounterBloc>().add(const Increment());
},
tooltip: 'Increment',
child: const Icon(Icons.add),
),
const SizedBox(height: 8),
FloatingActionButton(
onPressed: () {
context.read<CounterBloc>().add(const Decrement());
},
tooltip: 'Decrement',
child: const Icon(Icons.remove),
),
],
),
);
}
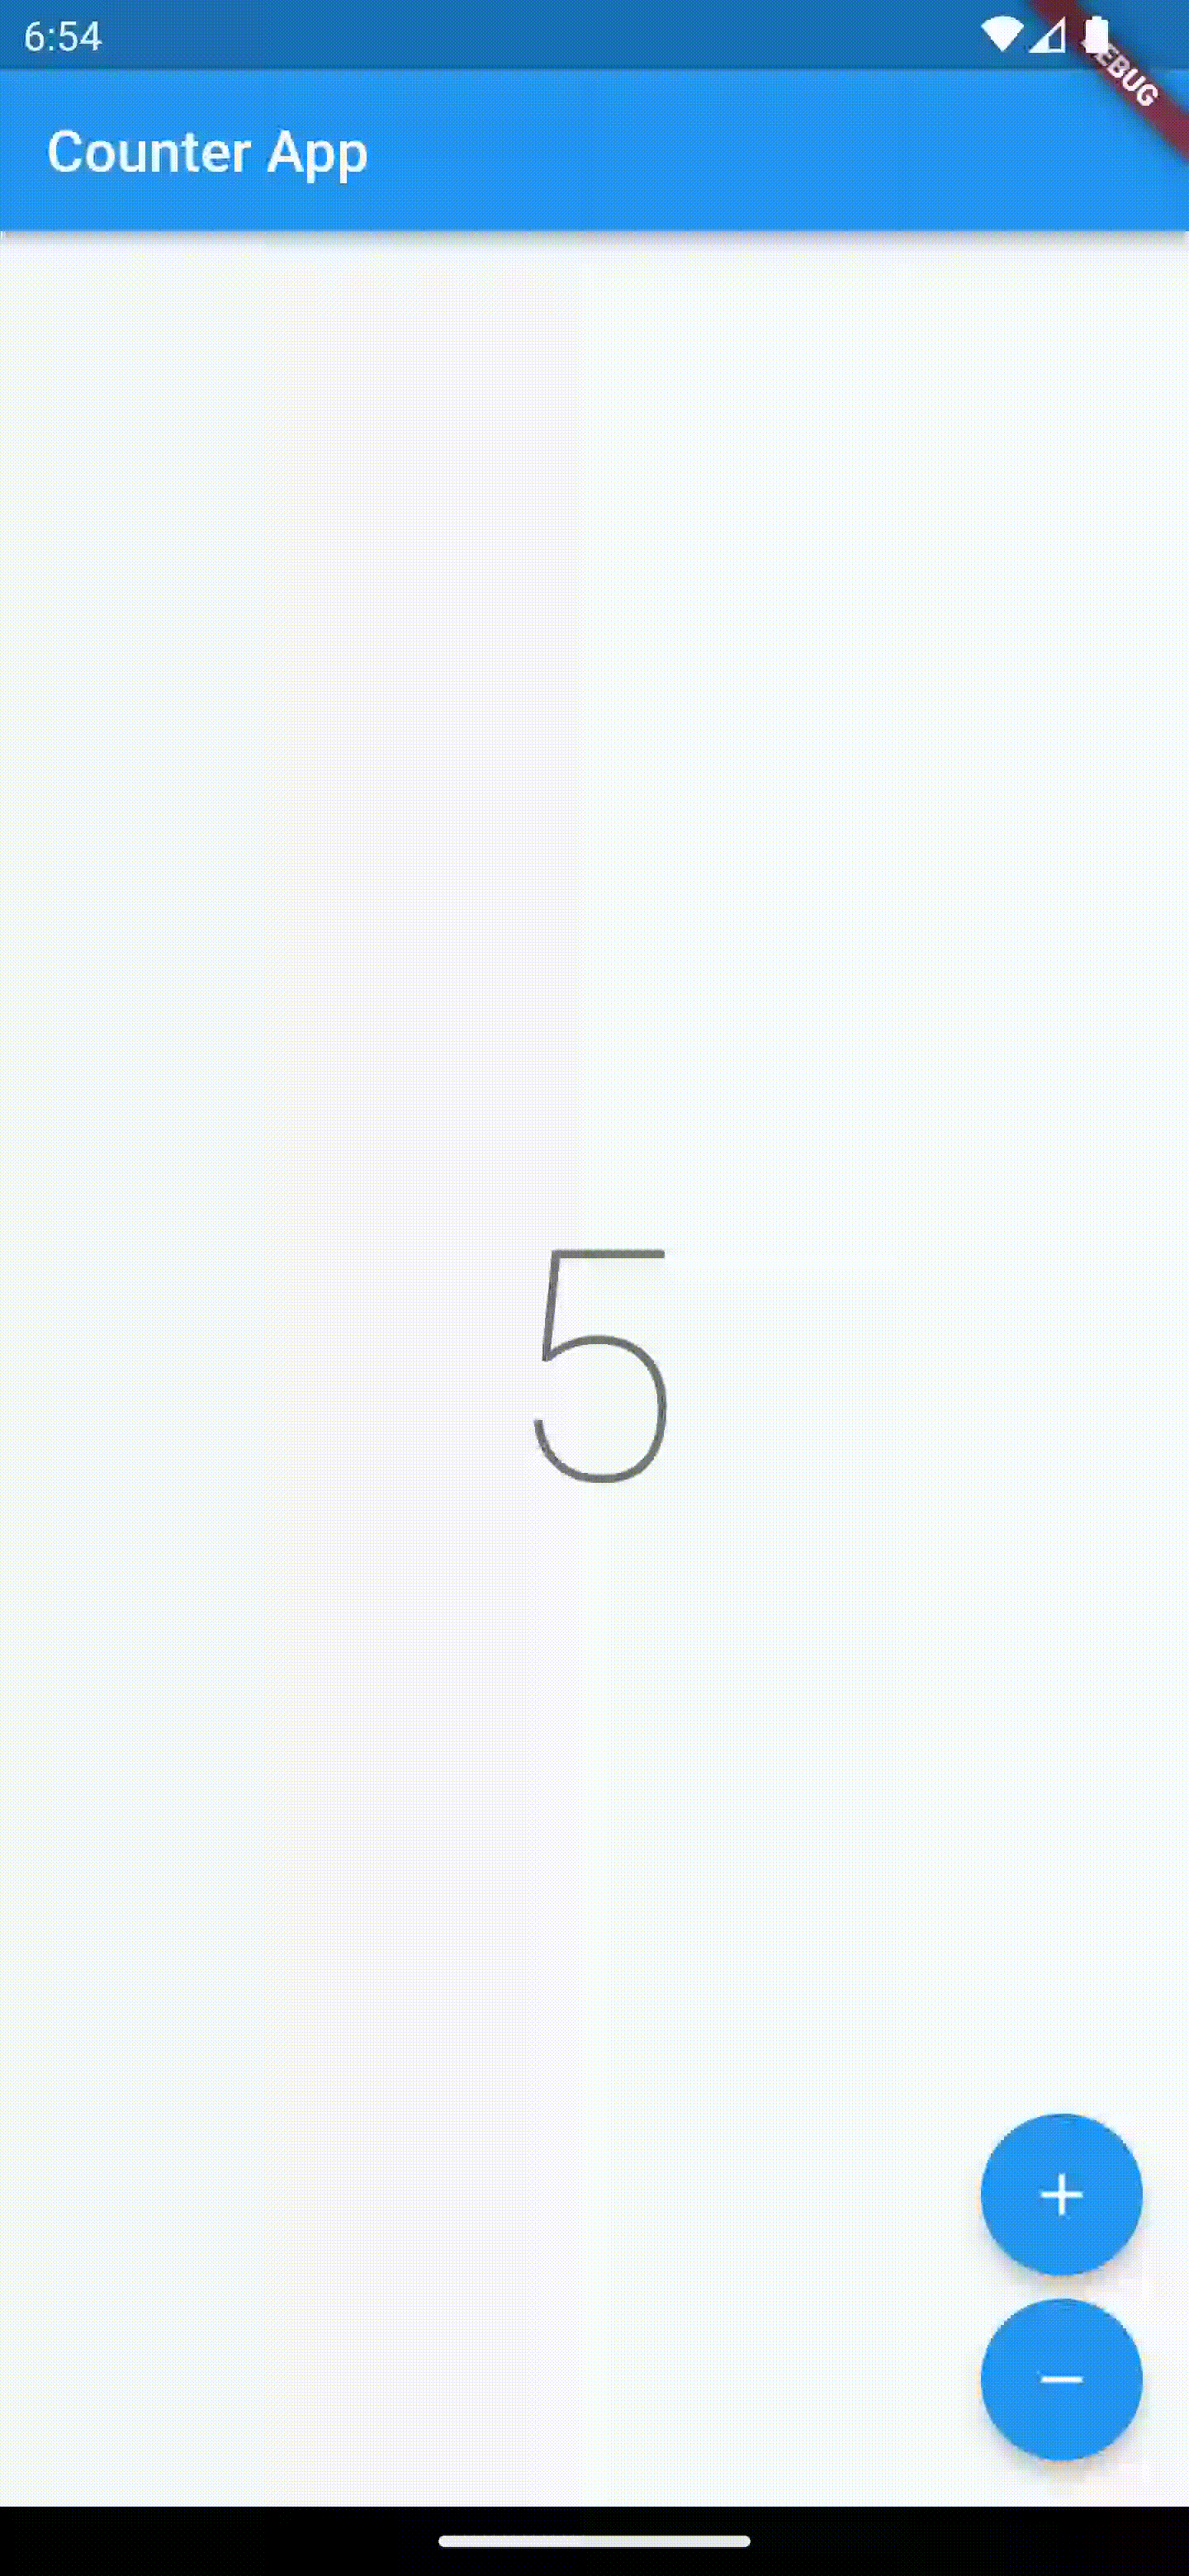
}flutter_bloc을 이용한 간단한 카운터 앱 예제 UI. 현재 해당 화면에서 주로 구성되어있는 요소는 카운트를 표시하는 Text 위젯과 카운트 증가와 감소 버튼을 가진 FloatingActionButton 위젯으로 이루어져있다. 카운터 값을 나타내는 Text 위젯은 BlocBuilder를 이용하여 CounterBloc 상태를 가져와 렌더링 한다. CounterBloc에서 패턴을 구성한 것처럼 Increment와 Decrement 이벤트에 따라 onPrssed 핸들러에서 이벤트가 발생되는 것을 확인 할 수 있다. mapEventToState 함수에서 CounterEvent를 받아 이벤트에 맞는 CounterState를 반환하는 형태로 카운팅이 되는 것을 확인할 수 있다.
실제 구동화면
이렇게 간단한 Counter 어플리케이션을 만드는 것 이외에도 다양한 어플리케이션을 두 조합으로 만들 수 있으니, 계속해서 연습하여 유용하게 잘 다룰 수 있기를 바란다.